
Choose the correct plugin and prepare recovery
Check whether an existing plugin already provides the feature. For a new plugin, read its official description, installation instructions, recent release notes and support responses. Confirm its WordPress and PHP requirements against Tools > Site Health > Info. An installation count or rating is useful context, not proof of security or compatibility.
Download paid plugins from your account with their author. Avoid redistributed premium packages with unknown changes. Check whether a free base plugin or another extension is required, and install dependencies in the author's documented order.
Take a files-and-database backup and confirm hosting access works. Test plugins that change checkout, user access or the page builder on a staging copy first.
Install from the WordPress directory
- Sign in with an account allowed to install plugins. Open Plugins > Add New Plugin and search for the exact plugin name.
- Compare the author and description with the official listing. Open More Details to check requirements and installation notes, then close the details window.
- Choose Install Now for that plugin and wait for installation to complete. Installation places its files on the site; activation starts its WordPress functionality.
- Select Activate when the backup and testing arrangements are ready. Complete only the documented setup required for your feature. Record any connection or data-import changes it makes.
Use a ZIP supplied by the plugin author
If the plugin is supplied as a ZIP, keep the installable ZIP intact. A purchase download can contain documentation and a second plugin ZIP; use the author's installation instructions to identify the correct file.
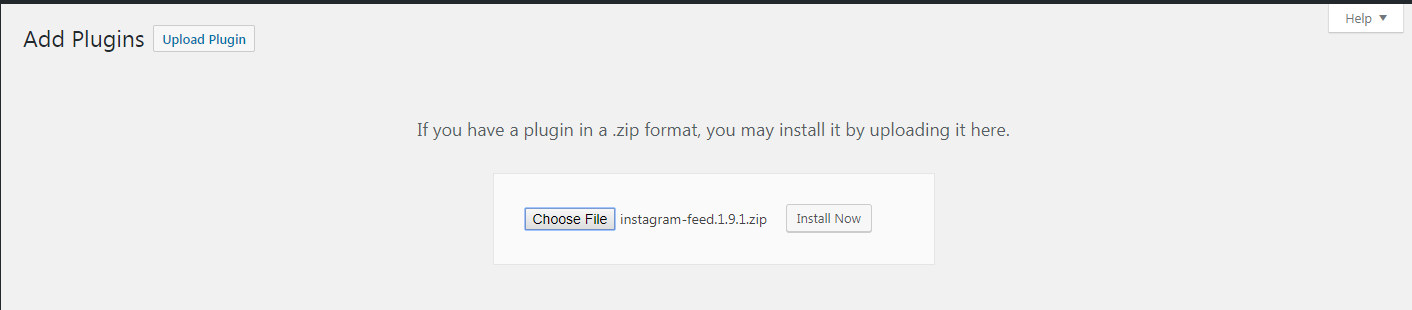
- Go to Plugins > Add New Plugin > Upload Plugin.
- Choose the installable ZIP from your computer and click Install Now. If WordPress says the plugin already exists, stop and use the update guide before replacing it.
- Wait for a successful installation, then choose Activate Plugin and follow the author's setup instructions. Enter licence details only in the genuine plugin or vendor account screen.
Test the feature and know how to undo it
Perform the task the plugin was installed for using test data. Submit its form, preview its widget or complete its documented test purchase as appropriate. Check the homepage, an inner page, mobile layout and dashboard. Verify the result while logged out as well as signed in.
If a problem starts after activation, open Plugins > Installed Plugins and choose Deactivate for the new plugin. When the dashboard fails, follow file-based deactivation or the WordPress recovery email. Deactivation stops the plugin running but does not reverse every setup change or data import.
After a successful staging test, repeat the recorded installation and settings live with a fresh backup, then repeat the feature checks. Remove unused test plugins using the uninstall guide.
Resolve installation messages without forcing the upload
If Add New Plugin is missing, ask the site or network administrator whether your role, hosting plan or site configuration permits installations. A Multisite network manages installation centrally. Do not change file permissions or roles just to reveal the button.
For an upload-size or write-permission error, give the host the exact message and plugin ZIP size. Ask them to confirm the upload limit and file ownership. An invalid-package message calls for checking the ZIP with its author, not renaming arbitrary files.
Official reference
WordPress documents plugin installation and management. Use the chosen plugin's own documentation for its setup and test procedure.
Get help with the next step
If you are unsure whether a plugin fits the site or activation breaks a feature, ask BugShield for help. Tell us the plugin and the result you need so we can assess the installation or conflict and confirm a price.