What Settings > Media controls
Open Settings > Media in your dashboard and the first block is Image sizes. WordPress lists three of them: Thumbnail, Medium and Large. For each one you enter dimensions in pixels, and WordPress treats them as the maximum dimensions to use when you insert an image into the body of a post.
Thumbnail takes a width and a height, plus a checkbox labelled Crop thumbnail to exact dimensions. Without that box ticked, thumbnails stay proportional, so a tall photo produces a tall, narrow thumbnail. Ticking the box trims images to the exact shape you entered, which suits layouts built from equal squares. Medium and Large take a maximum width and a maximum height instead, giving each image a box to fit inside.
Choose sizes that suit how your theme actually displays content. A Large size far wider than your content column has no room to show its full width. After any change, click Save Changes and look for the confirmation message at the top of the page. Resizing depends on the GD graphics library, php-gd, being installed on your server, so mention php-gd to your host if image sizes never behave as expected.
How WordPress organises upload folders
Below the image sizes sits Uploading Files, with one checkbox: Organize my uploads into month- and year-based folders. With the box ticked and the default uploads path, a file uploaded in June 2018 lands in wp-content/uploads/2018/06. WordPress creates those folders at the moment of upload, provided the wp-content folder is writeable.
Knowing that layout helps when you open your host's file manager or an SFTP client, because the folder names tell you roughly when something arrived. Use the folders as a reference rather than a place to tidy by hand. The Media Library is the screen WordPress provides for viewing, editing and deleting uploads, and it keeps each file's details and usage clues beside the file itself.
Folder permissions matter for the opposite problem too. When WordPress cannot write to wp-content, new uploads fail, and the troubleshooting guide for failing media uploads walks through permissions alongside file size limits and storage.
Finding cleanup candidates in the Media Library
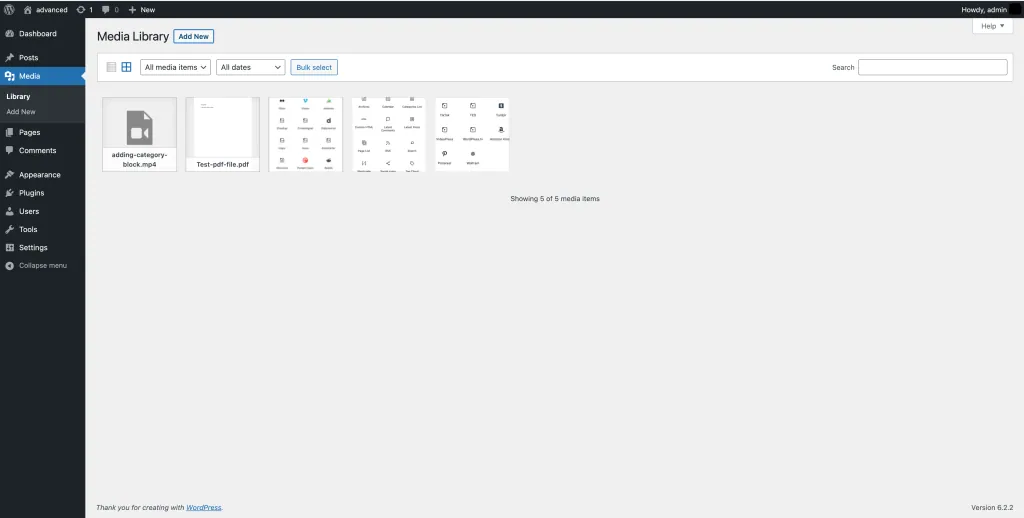
Go to Media > Library and switch to list view with the icons above the files. Grid view is pleasant for browsing, but list view shows a table with an Uploaded to column, and that column is your main clue for this job.
From the dropdown above the table, choose Unattached and click Filter. WordPress now shows only media that is not attached to any post or page, and each row offers an Attach link where the post title would normally sit. In the unfiltered list, the Uploaded to column names the post or page containing each file along with its date, and clicking the title opens that content in the editor.
Screen Options lets you show more rows per page, and the All dates dropdown lets you work through one month at a time instead of facing the whole library at once. You can also sort by File to bring similar names together, then check by eye for the same photo uploaded twice under slightly different names.
Why Unattached does not mean unused
The Unattached filter sounds like a list of spare files, but it only reflects one record: the link between a file and a post or page. WordPress offers Media > Add New for uploads unrelated to any post or page, and those files begin with no attachment at all. Your pages, theme settings and widgets are not searched, so an unattached file can still be on display somewhere on your site.
Attached files come with their own limit. When a file has been attached to more than one post or page, the Uploaded to column shows only the first. An image attached to an old draft can also sit inside newer content, so a forgotten post in that column says nothing certain about whether the file is spare.
Before you mark anything as unused, search your posts and pages for its file name, open the pages where it would logically appear, and check your logo, header and widget settings. Copy URL to clipboard gives you the exact address to look for. Any file you cannot account for stays in the library.
Back up, then delete permanently
In list view, Delete Permanently is the only bulk action available, and the name means what it says: the action deletes the media. Take a full backup of files and database before you start, and make sure you know how restoring a backup works, including what it overwrites.
Work in this order so each step protects the next.
- Create a full backup and confirm you can download it.
- For any file you feel unsure about, use the Download file action to keep a local copy of the original.
- Filter the list by Unattached and tick only the files you have checked and confirmed as unused.
- Choose Delete Permanently from the Bulk actions dropdown and click Apply. In grid view, the equivalent is Bulk Select, then Delete Selected.
- Repeat month by month rather than selecting the whole library in one pass.
Checking your site after a WordPress media library cleanup
Once the files are gone, visit the pages where images carry the most weight: your homepage, main landing pages, product pages and anything with a gallery. Look for broken image icons, blank spaces and missing logos.
A clean result on those pages is an observation, not proof that nothing else depended on the deleted files. Older posts you did not open and links shared outside your site can still point to something you removed. Keep the backup and your downloaded copies for a while, and if a missing image surfaces, upload the original again and reinsert it where it belongs rather than rolling the whole site back.
Future cleanups get easier when uploads start tidy, with clear filenames and sensible dimensions, as covered in preparing files for the Media Library. If a restore leaves pages broken anyway, BugShield can help with sites still broken after a backup restore.
Sources
WordPress media library cleanup FAQs
What does Crop thumbnail to exact dimensions do?
With the box ticked, thumbnails are trimmed to the exact width and height you set under Settings > Media. Left unticked, thumbnails keep the proportions of the original image.
Why does a file show as Unattached when I can see it on my site?
Unattached describes the attachment record, not where the file appears. Files uploaded through Media > Add New have no attachment, yet they can still be used in content, widgets or theme settings.
Can I rely on the Uploaded to column to see where an image is used?
Only partly. When a file is attached to more than one post or page, the column shows the first one only, so check other likely locations before deleting.
Can I recover a file after using Delete Permanently?
The Media Library offers no way back once you confirm. Recover the file from your backup or upload the copy you saved with Download file, then reinsert it where it was used.
Do I need month- and year-based upload folders?
No, the setting is optional. With it ticked, WordPress files each upload under a dated folder such as wp-content/uploads/2018/06, which makes files easier to locate on the server.